Understanding How Light Uncovers Relief

Textures come to life when light meets surface at intentional angles, revealing micro-shadows, crisp highlights, and gentle falloff that our eyes read as depth. By controlling distance, beam spread, and color, you can make walls feel tactile without touching them, turning flat rooms into sculpted experiences. We will demystify essential behavior so you can predict results, refine choices, and avoid the common trap of flattening everything.

Building Layers That Shape Space

Begin with a calm ambient base, add purposeful task beams, and finish with accents that carve relief. Each layer should respect texture rather than overwhelm it, using dimming and scenes to glide from lively social settings to meditative evenings. We will map placements, heights, and control strategies that keep depth intact.
Use indirect coves, ceiling bounces, and shielded floor washers to raise baseline brightness without erasing shadows. Avoid overpowered downlights centered on textured walls; shift them outward or dim them thoughtfully. Aim for gentle ratios so details remain readable and eyes feel rested across the room’s length.
Introduce adjustable spots to pull forward artwork, niches, and dramatic surfaces, leaving adjacent planes quieter for contrast. Start around 30 degrees from viewer, experiment with 10–25 degree beams, and watch relief appear like chiseled sculpture. Keep glare control tight using louvers or barn doors for comfort.

Fixtures and Details That Do the Heavy Lifting

{{SECTION_SUBTITLE}}

Wall Grazers: Distance, Height, Louvers

Mount continuous linear light close to the wall—often 4–12 inches—so rays skim ridges and carve crisp relief. Add louvers or snoots to block view of the source. Test spacing to overlap beams, eliminating zebra stripes while keeping that intentional, cinematic shadow gradient along the surface.

Washers for Calm, Even Backdrops

Choose wall washers when you want uniform brightness that still leaves enough modeling for subtle materials. Optics spread light broadly to avoid hot centers, supporting artwork and shelving. Place accent spots separately to reintroduce depth where desired, maintaining a quiet, legible background that supports conversation and comfort.

Material Play: Brick, Plaster, and Wood

Every surface has a voice. Fired clay celebrates warmth and tooth, limewash drinks light like suede, and timber grain flows with quiet rhythm. By tuning direction, intensity, and spectrum, you can let each finish sing confidently, avoiding glare while strengthening the story your home already whispers.

01

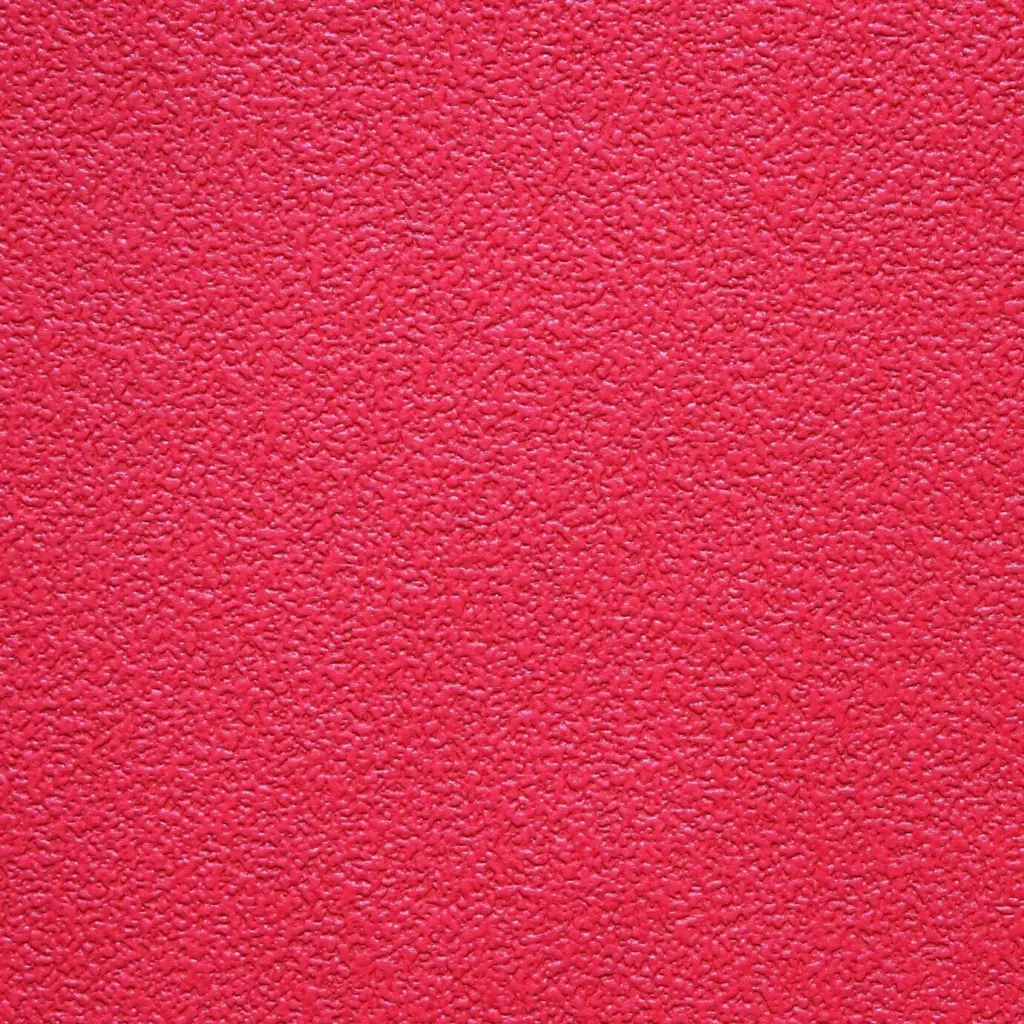
Brick with Warm, Raking Light

Choose 2700–3000K sources that enrich reds without pushing orange, and aim from above or below to rake mortar lines. In a converted loft, we pulled fixtures closer by two inches and the wall suddenly felt hand-laid, inviting fingers to trace history during late dinners.

02

Plaster and Limewash Need Gentle Cross-Light

Matte, mineral finishes love soft, overlapping washes from two sides that avoid pinpoints and streaks. Keep beams wide, dim slightly, and let shadows feather. One client said their hallway finally breathed when we reduced output by twenty percent and nudged angle five degrees outward.

03

Wood Grain Loves Direction and Warm Dim

Side-lighting along the grain reveals figure without harsh glare. Pair 2850K warm-dim LEDs with high R9 to keep cherry and walnut saturated. If sheen is high, soften with diffusion film; if matte, permit a touch of sparkle to enliven evening gatherings.

Daylight as a Partner, Not a Rival

Natural light paints textures with endlessly shifting nuance. Instead of fighting it, shape it using sheers, louvers, and reflectors so electric layers can complement rather than compete. Reading orientations, seasons, and sky conditions helps you decide when to graze, when to wash, and when to quiet everything gently.

Control, Dimming, and Color Quality

Perceptual Dimming That Feels Natural

Choose drivers and protocols that deliver smooth output down to one percent without stepping or shimmer. Human vision is logarithmic, so linear sliders often feel jumpy; use curves that compress highs and expand lows. Test with slow fades across textured walls to confirm shadows stay stable and expressive.

High Fidelity Color Reveals Microtexture

Select sources with CRI 95+, strong R9, and balanced TM‑30 values so fabrics, art, and finishes read authentic. Spectral gaps can flatten pores or push odd tints. Compare samples side by side, then photograph skin tones and natural materials to verify realism at both bright scenes and intimate evenings.

Make, Save, and Share Scenes

Create naming that anchors intention, like Brick Story, Linen Calm, or Wood Glow. Capture before-and-after shots, store settings, and invite friends to vote on favorites. Post your discoveries, tag us, and ask questions; our community loves trading diagrams, fixture tips, and honest, lived-in results.

Photograph and Share Your Results

Great photographs help you evaluate and celebrate your work. With simple phone settings and mindful framing, you can document how grazing, washing, and accent layers change depth across the day. Share progress, gather feedback, and inspire others considering similar transformations in studios, apartments, or family homes.
Norixelavotaphi
Privacy Overview

This website uses cookies so that we can provide you with the best user experience possible. Cookie information is stored in your browser and performs functions such as recognising you when you return to our website and helping our team to understand which sections of the website you find most interesting and useful.